

Friday, September 28, 2012
I made...
14 of these t-shirt material scarves! They were a Cheer Spirit Gift for my daughter's cheer squad. Super easy!


Saturday, September 15, 2012
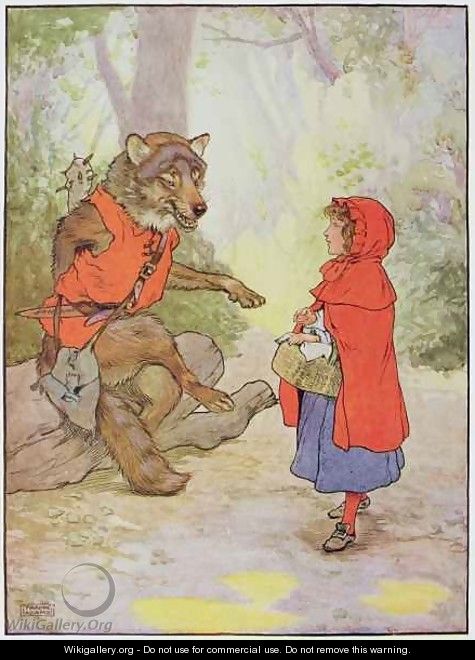
Little Red Riding Hood
Friday, September 14, 2012
My workspace
Here is a picture of my workspace:

I recently added cotton twine to my upper cabinets to hold pictures:
 I adapted the idea from something I found on Pinterest. The cotton twine allows for lots of pictures and was a steal at the Dollar store.

I recently added cotton twine to my upper cabinets to hold pictures:

Tuesday, August 21, 2012
School Supplies All Packed
The supplies are ready for the first day of school. We used our IKEA bag to pack up the kids supplies. They get to meet their teacher today too. School starts tomorrow!


Saturday, August 4, 2012
Fun Dancing Flower

Picked this up at the local dollar store. He is solar powered and doesn't need watering. He's the perfect plant!
Sunday, May 29, 2011
Yummy Breakfast Casserole -- It's for Dinner!
So I made this yummy breakfast casserole for breakfast. It turned out great. You need: 1 package of refrigerated hash brown potatoes, 6 eggs, 1/2 C milk, 1 can of Rotel, 8 oz sharp cheddar cheese, 6 oz of deli black forest ham cut in bite size pieces.
Turn on the broiler. Line a baking sheet with parchment paper or spray oil. Dump potatoes on sheet and spray with cooking spray. Brown in the broiler until well browned, flip the potatoes at least once and spray again with cooking oil. Let potatoes sit while you mix together the other ingredients in a large bowl.
Turn the oven down to 375. Grease a 9 x 13 pan and put potatoes in the bottom and cover evenly with the remaining egg concoction. Place the pan uncovered in the oven and bake for approximately 30 minutes or until the eggs have set. Serve with salad. Yum!

Turn on the broiler. Line a baking sheet with parchment paper or spray oil. Dump potatoes on sheet and spray with cooking spray. Brown in the broiler until well browned, flip the potatoes at least once and spray again with cooking oil. Let potatoes sit while you mix together the other ingredients in a large bowl.
Turn the oven down to 375. Grease a 9 x 13 pan and put potatoes in the bottom and cover evenly with the remaining egg concoction. Place the pan uncovered in the oven and bake for approximately 30 minutes or until the eggs have set. Serve with salad. Yum!

Tuesday, May 24, 2011
The quilt
So I finally completed the quilt. Here are some of my steps:
Remember I started with a completed top, cotton battings, and a muslin backing.
Then, I put the materials in order to do a pillowcase quilt. I tacked them together to trim the materials and keep them neat.

I sewed around the perimeter of the quilt, leaving a 6 inch gap, removed the pins, and turned it right side out. I sewed the 6 inch gap together and re-pinned the layers to quilt squares in the material. Here it is completed:

Remember I started with a completed top, cotton battings, and a muslin backing.

Then, I put the materials in order to do a pillowcase quilt. I tacked them together to trim the materials and keep them neat.

I sewed around the perimeter of the quilt, leaving a 6 inch gap, removed the pins, and turned it right side out. I sewed the 6 inch gap together and re-pinned the layers to quilt squares in the material. Here it is completed:

Subscribe to:
Posts (Atom)